Have you ever planted a seed, waited with anticipation, and gotten… nothing? It happens to the best of us. Giving a seed the perfect start can be tricky. Weather is unpredictable, and window sills can be drafty. This is where a germinatoire—a dedicated seed starting station—can change your gardening game entirely.
Think of it as a nursery for your seeds. It’s a controlled environment where you can manage warmth, moisture, and light to dramatically increase your germination rate. Whether you buy a kit or build one yourself, a germinatoire gives you a huge head start on the growing season. In this guide, we’ll walk through everything you need to know to set up and run your own successful seed nursery.
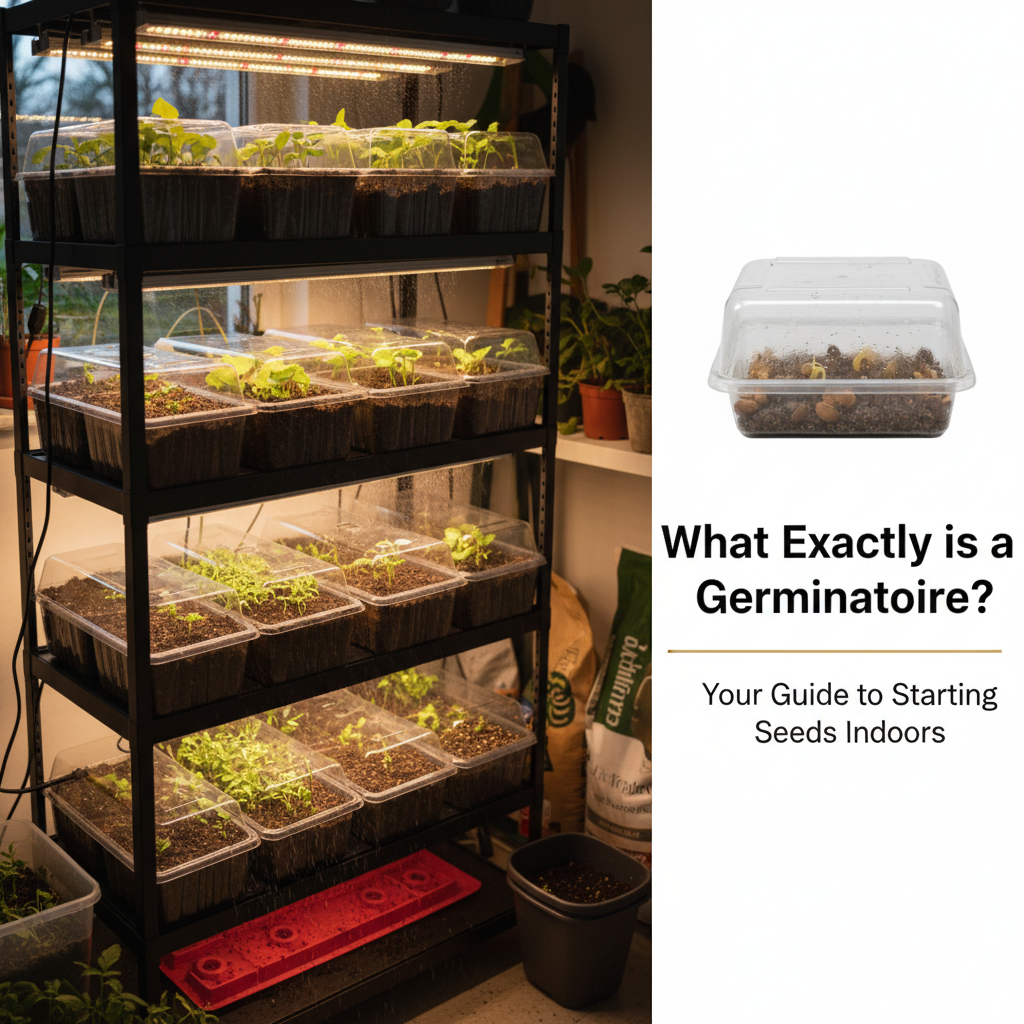
What Exactly is a Germinatoire?
A germinatoire is simply a setup designed to create the ideal conditions for seeds to sprout. It can be as simple as a single seed tray with a plastic cover or as complex as a multi-tiered rack with automated grow lights and heat mats.
The goal is to provide a consistent environment, protecting your future plants from the fluctuating conditions of the outdoors. By controlling the key variables, you can coax even the most stubborn seeds to life and grow strong, healthy seedlings ready for the garden.
Key Components of a Germinatoire
Most germination stations, whether store-bought or DIY, rely on a few core components working together.
- Seed Trays: These are the containers that hold your growing medium and seeds. They often come with individual cells for each seedling.
- Propagation Dome: A clear plastic lid that fits over the seed tray. Its job is to trap humidity, creating a mini-greenhouse effect that seeds love.
- Heat Mat: Many seeds need consistent warmth to germinate. A waterproof heat mat placed under the seed tray provides gentle, constant bottom heat, which is far more effective than warming the air.
- Grow Lights: Unless you have a south-facing window with 12+ hours of direct sun (which most of us don’t), you’ll need supplemental light. LED grow lights are energy-efficient and provide the right spectrum of light for strong, compact seedlings.
Setting Up Your Germination Station
Getting your germinatoire up and running is a straightforward process. You can buy all-in-one kits that include everything, or assemble the components yourself to fit your space and budget.
Step-by-Step Setup Guide
- Choose Your Location: Find a spot indoors that is out of the way, has a stable ambient temperature, and is near a power outlet. A basement, a spare room, or even a closet can work perfectly.
- Assemble Your Gear: Place your heat mat on a flat, waterproof surface. Put the seed tray on top of the mat. If you’re using lights, set them up on a stand or hang them from a shelf directly above the tray.
- Prepare Your Growing Medium: Fill your seed tray cells with a sterile seedling mix. Avoid using garden soil, which is too dense and can contain pathogens that cause disease. Lightly moisten the mix with water until it feels like a damp sponge.
- Sow Your Seeds: Plant your seeds according to the packet instructions. A good rule of thumb is to plant a seed about twice as deep as its diameter.
- Add Water and Cover: Gently water the seeds in. Place the propagation dome on top to lock in moisture.
- Turn Everything On: Plug in your heat mat and your grow lights. Set the light timer for 12-16 hours per day. Now, you wait!
Mastering the “Big Three”: Light, Moisture & Temperature
Successful germination hinges on getting three environmental factors just right.
Temperature and Heat Mats
Most vegetable and flower seeds germinate best in warm soil, typically between 70-85°F (21-29°C). A heat mat is the most reliable way to achieve this. It warms the soil directly, which is what matters to the seed. Some mats have a built-in thermostat, allowing you to set a precise temperature. Without a mat, germination can be slow, spotty, or fail completely, especially in a cool house.
Moisture and Humidity
Seeds need constant moisture to sprout. The propagation dome is your best friend here, as it traps humidity and prevents the soil from drying out. You should see condensation on the inside of the dome—that’s a good sign! However, you don’t want the soil to be waterlogged. Overwatering can suffocate seeds and encourage mold growth.
Light and Grow Lights
While some seeds need light to germinate, most do not. Light becomes critical the moment the first green shoot appears. Seedlings need intense light to photosynthesize and grow strong. Without it, they will become “leggy”—tall, pale, and weak—as they stretch desperately for a light source.
Position your grow lights just 2-3 inches above the seedlings. As they grow, raise the lights to maintain this distance. Running them on a timer for 14-16 hours a day mimics long summer days and promotes healthy, stocky growth.
Choosing and Preparing Your Seeds
Not all seeds are created equal. Some, like beans and zinnias, are eager to sprout. Others require a little extra convincing.
- Stratification: Some seeds, particularly perennials and native plants, need a period of cold, moist conditions before they will germinate. This mimics a natural winter. You can replicate this by placing seeds in a bag with moist sand or paper towel and storing them in your refrigerator for a few weeks or months. The University of Minnesota Extension provides excellent guidelines on seed stratification for various plants.
- Scarification: Seeds with very hard, impermeable coats (like morning glories or lupines) may need to be scratched or nicked to allow water to enter. You can do this by gently rubbing them with sandpaper or nicking the coat with a file, being careful not to damage the embryo inside.
Common Problems and How to Fix Them
Even with a perfect setup, you might encounter a few issues. Here’s how to troubleshoot them.
No Germination
If your seeds don’t sprout, the cause is usually related to temperature, moisture, or seed viability.
- Is it warm enough? Check your heat mat. Cool soil is a primary cause of germination failure.
- Is the soil too wet or too dry? Aim for consistently damp, not soggy.
- Are the seeds old? Seed viability decreases over time. Try a new packet of seeds.
Leggy Seedlings
This is almost always caused by insufficient light. The seedlings are stretching to find the sun. Move your grow lights closer (2-3 inches from the seedling tops) or upgrade to a more powerful light source.
Mold, Algae, or Damping-Off
Fuzzy white or gray mold on the soil surface is a sign of too much moisture and not enough airflow. Damping-off is a fungal disease that causes seedlings to rot at the soil line and collapse.
- Increase Ventilation: Once seeds have sprouted, remove the humidity dome for a few hours each day or prop it open to let fresh air in.
- Don’t Overwater: Let the top of the soil dry slightly between waterings.
- Use Sterile Mix: Always start with a fresh, sterile seedling mix.
When to Pot-Up and Harden Off
Your seedlings are ready to move out of the germinatoire and into larger pots when they have their first set of “true leaves.” The first leaves you see are the cotyledons, or seed leaves. The next set that appears will look like the mature plant’s leaves—these are the true leaves.
Before you can move your plants into the garden, you must “harden them off.” This is the process of gradually acclimating them to outdoor conditions.
- Start by placing your seedlings in a shady, protected spot outdoors for just an hour on the first day.
- Each day, gradually increase their time outside and expose them to a little more direct sunlight.
- After 7-14 days, they should be ready to handle a full day of sun and can be transplanted into the garden. This process, as detailed by botanical gardens like the Chicago Botanic Garden, is vital for preventing transplant shock.
A Germinatoire for Every Budget
You don’t need to spend a fortune to build a functional germinatoire.
- Budget-Friendly: A simple seed tray and dome can cost less than $20. Add a basic heat mat and a shop light with fluorescent or LED bulbs, and you can have a complete setup for around $75.
- Premium: High-end systems can include multi-tiered racks, digital thermostats for precise temperature control, and full-spectrum LED grow lights. These can range from $200 to over $500 but offer more capacity and automation.
Remember to factor in safety. When using heat mats and lights, keep all electrical connections away from water. Use a grounded power strip and ensure your setup is stable and secure.
A Head Start for a Great Season
A germinatoire is more than just a piece of equipment; it’s an investment in your garden’s success. It empowers you to grow a wider variety of plants, get a jump on the season, and produce an abundance of strong, healthy seedlings. By giving your seeds the perfect start in a controlled environment, you set the stage for a lush and productive garden. So go ahead, build your nursery, and watch your garden dreams sprout to life.